
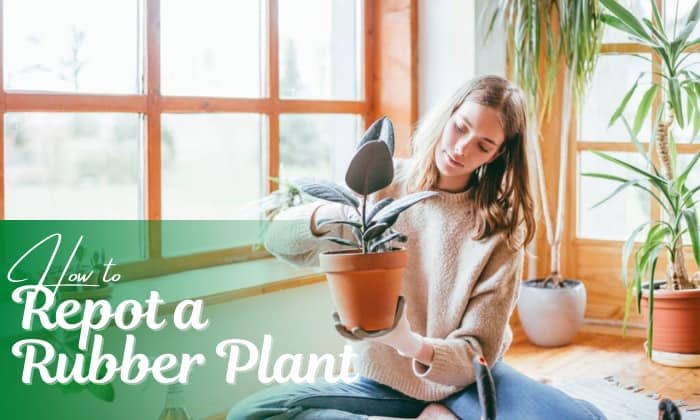
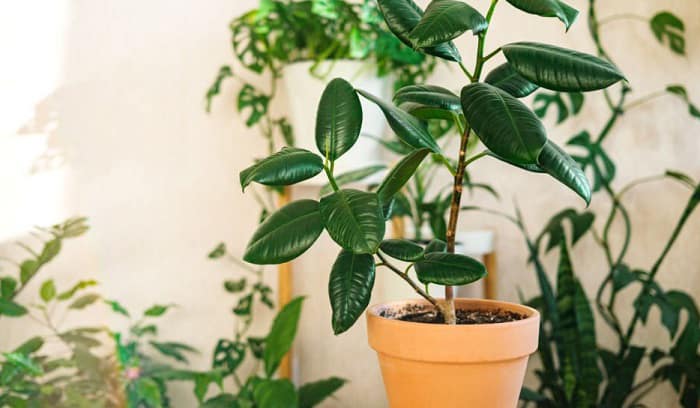
Rubber plants are popular for their air-purifying capacity and vibrant green foliage. If you have them in your home, it’s necessary to learn how to repot a rubber plant.
After all, Ficus elastica can reach up to ten feet in height, and they’ll need bigger pots as they age. Read below to learn when and how to transplant rubber plant.
Table of Contents
When to Repot Rubber Plant
When is rubber plant repotting necessary? When there are visible roots at the bottom or top of the container.
If your rubber tree sheds leaves too quickly or fails to grow despite having healthy soil, it’s time for a change of pot as well.
At the same time, take note of overly wet or dry soil. The former means you likely need a smaller container, while the latter indicates there isn’t enough soil to give the plant sufficient moisture.
Guide to Repot a Rubber Plant
1. Things to prepare
- A new pot
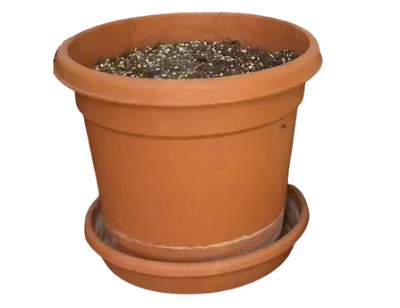
Select a container three to four inches bigger than your current one with at least one drainage hole.
If you wonder whether rubber plants like terracotta pots, the answer is not necessarily. These plants are not finicky and will tolerate pretty much any pot material. You can opt for ceramic, terracotta, or plastic.
- Rubber plant soil mix

To create your own plant mix, combine three parts of potting soil and one part of pumice or perlite. You may replace the pumice or perlite with a cactus or succulent mix as an alternative.
In any case, the ideal soil for rubber tree should be light, well-drained, and without wetting agents. Some examples are Fiddle Leaf Fig’s fig potting soil and SunGro’s all-purpose potting mix.
- Shears

- A butter knife
- 70% rubbing alcohol for sanitizing the cutting tools
- Water
- Gloves and an apron
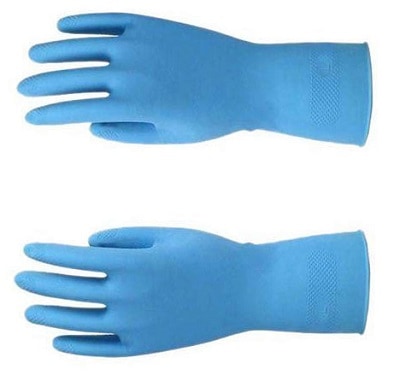
These are a must if you have a latex allergy. They also help keep your hands and clothes clean.
- A tarp to keep your table or floor tidy
2. Steps to repot rubber plants
- Water the rubber plant a day before repotting.
This step minimizes transplant shock and eases the plant’s removal.
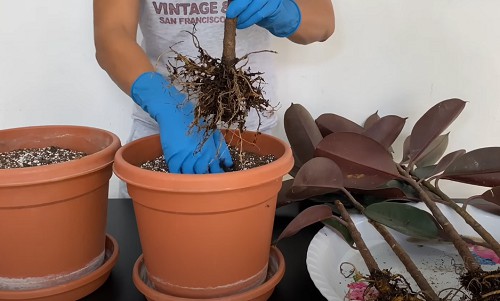
- Remove the rubber plant from its container.
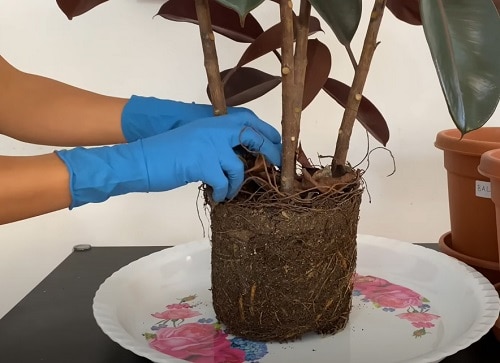
Grab the plant and uproot it. You may place the container on its side and run a knife along the rim if the plant is too stubborn.
- Trim off all diseased roots and leaves.
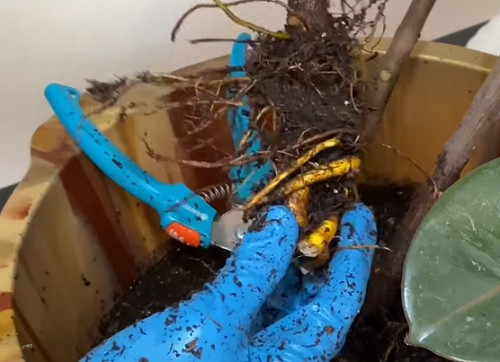
Check the rubber plant for any swollen, slimy stems and brown leaves. These often indicate root rot, so it’s necessary to remove them with disinfected shears.
Make sure you sanitize the shears between cuts, then treat the plant with a fungicide for a few hours. Some people use fludioxonil or flutolanil, to give some examples.
Let the roots air-dry before repotting.
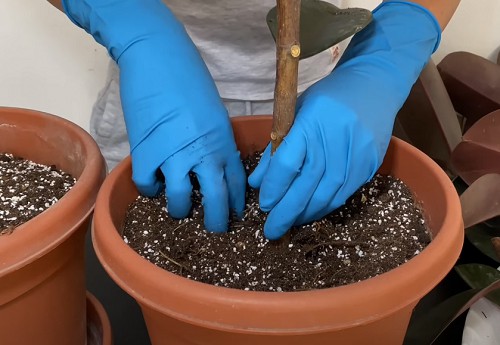
- Repot your rubber plant.
Separate the rubber roots with your hand if they’re too clumpy, then pour the soil mix into the new container and place the plant in it.
There should be ½ to 2 inches between the root ball and the container rim so that water has space to sit while soaking in.
Finally, lightly press the mix with your hands and water it until liquid flows out of the drain hole. If the soil settles too much, you can add more planting mediums. You now have a potted rubber tree.
The Importance of Repotting a Rubber Plant
Repotting gives plant roots enough space to spread out. In turn, they can absorb moisture and nutrients to grow taller and bigger.
If you restrict your rubber tree to a pot it’s outgrown, the plant may become root-bound and fail to retain water.
To deal with this problem, you may end up irrigating more and creating soggy soils that deprive the roots of oxygen. The result will be a sick plant that’s at risk of death.
How Do I Know When Rubber Plant Needs Repotting?
Here are some indicators you need to repot your rubber plant.
- Droopy or yellow leaves
- Stagnant growth
- Soil that’s compacted, lacking in nutrients, or incapable of retaining water
- Parts of the roots peek through the soil
Of these signs, note that the first two should accompany bounded roots, since stagnant growth or unhealthy leaves may simply result from improper watering or nutrient deficiency, which may be fixable without changing pots.
FAQs
How often should I repot a rubber plant?
Once every two to three years is a good rule of thumb. After two to three years, the quality of the soil should have declined, and a new potting medium is necessary for growth. This is the point when rubber plants often outgrow their containers as well.
Still, check the roots and see if they’re trying to expand out of the container. If they are, it’s time to move them.
How to size pot for rubber plant?
When selecting rubber plant pot size, ensure there is one inch of space between all parts of the roots and the container. A pot that’s too small will lead to frequent transplanting, while one that’s too big often causes the soil to become waterlogged.
The best pot for rubber plant should be thirty percent bigger than its old one.
How to take care of rubber plant after repotting?
Do not fertilize your rubber tree immediately after repotting it. Wait until three months have passed before applying plant food. The fertilizer for rubber plant should be balanced in nutrients, such as a 2-2-2 or 10-10-10 formula.
Additionally, give your container bright, filtered light, such as sunshine coming through window curtains. A temperature of 60 to 75℉ is ideal as well, as it’s not too hot and not too cold.
To help rubber plants adapt to their new environment, water them once a week during their growing season and once every two or three weeks in winter, while they’re going through dormancy.
Though you can repot rubber plants anytime, early spring and summer are ideal for mitigating rubber plant transplant shock.
How to propagate rubber plant?
You can propagate rubber plants using their cuttings. Trim off a 6-inch rubber stem with four leaf nodes—these nodes look like small bumps or rings on the branches, so they should be easy to spot.
Proceed to remove all leaves from the cutting, save for one at the top, which you will roll and tie with a rubber band.
Place the cutting into a potting mix with perlite and cover the whole thing with a clear plastic bag (don’t seal the bag up all the way; leave it 10% open). To accelerate growth, put some rooting hormone on the stem beforehand—don’t dip the whole branch into the hormone, though; a few bottom inches will do.
Give the tree branch indirect sunlight and water the soil so that it doesn’t dry. You should be done with repotting baby rubber plant in six months or so, but the bag will be removable after one month.
Conclusion
The steps on how to repot a rubber plant are straightforward. Simply remove the plant from its container, put it into a new pot with fresh soil, and water the planting medium.
Should you have any further questions on this topic, leave us a message. We wish you success in caring for your ficus tree.
Related guides you can refer to:
- Repotting a Jade Plant – Jade Plants Caring Tips
- Step by Step to Repot a Money Tree Plant
- Step by step for Repoting a Peace Lily Plant

Hi, I am William – Floridayards’ digital content creator. My job is to find answers to all your concerns with thorough research and our team’s expert advice. I will also bring you honest reviews on the best products and equipment for raising your beautiful garden. Please look forward to our work!